

Last updated October 31, 2026
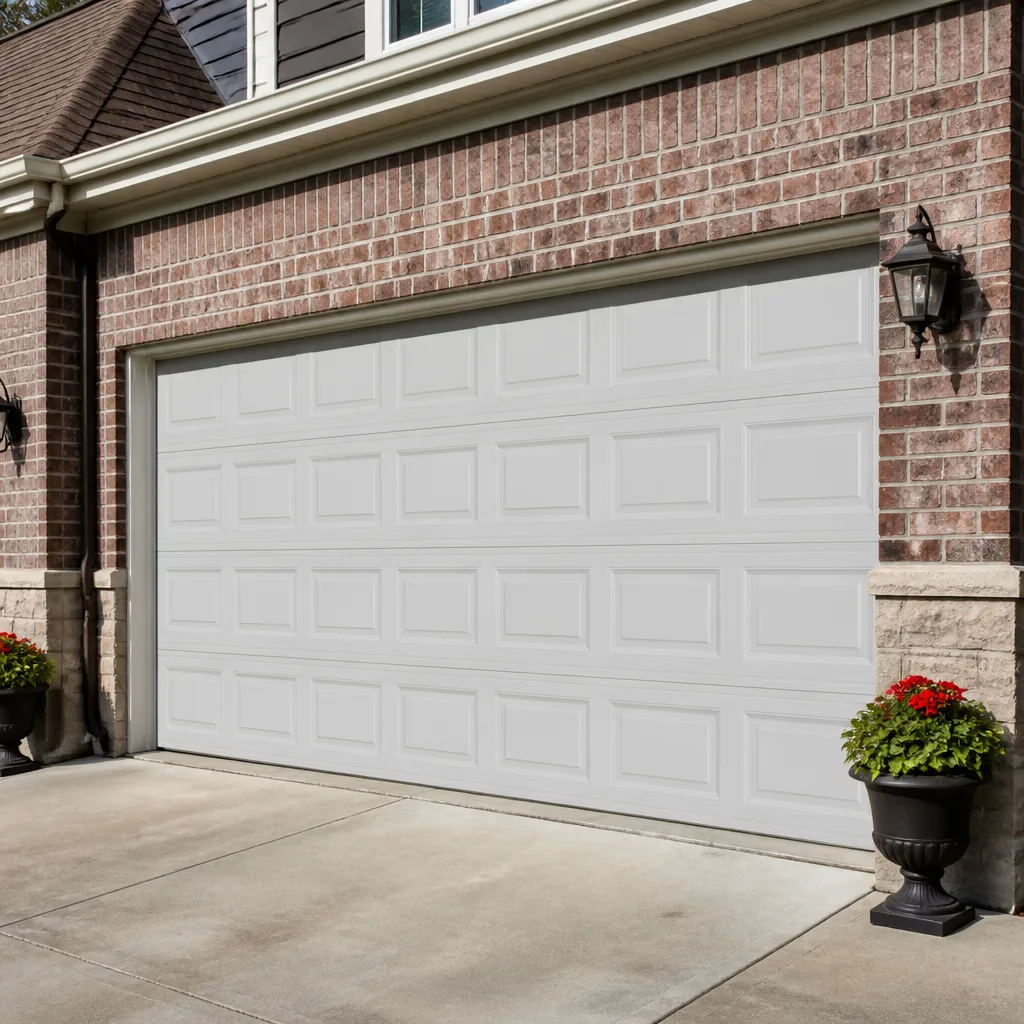 Raised-panel steel
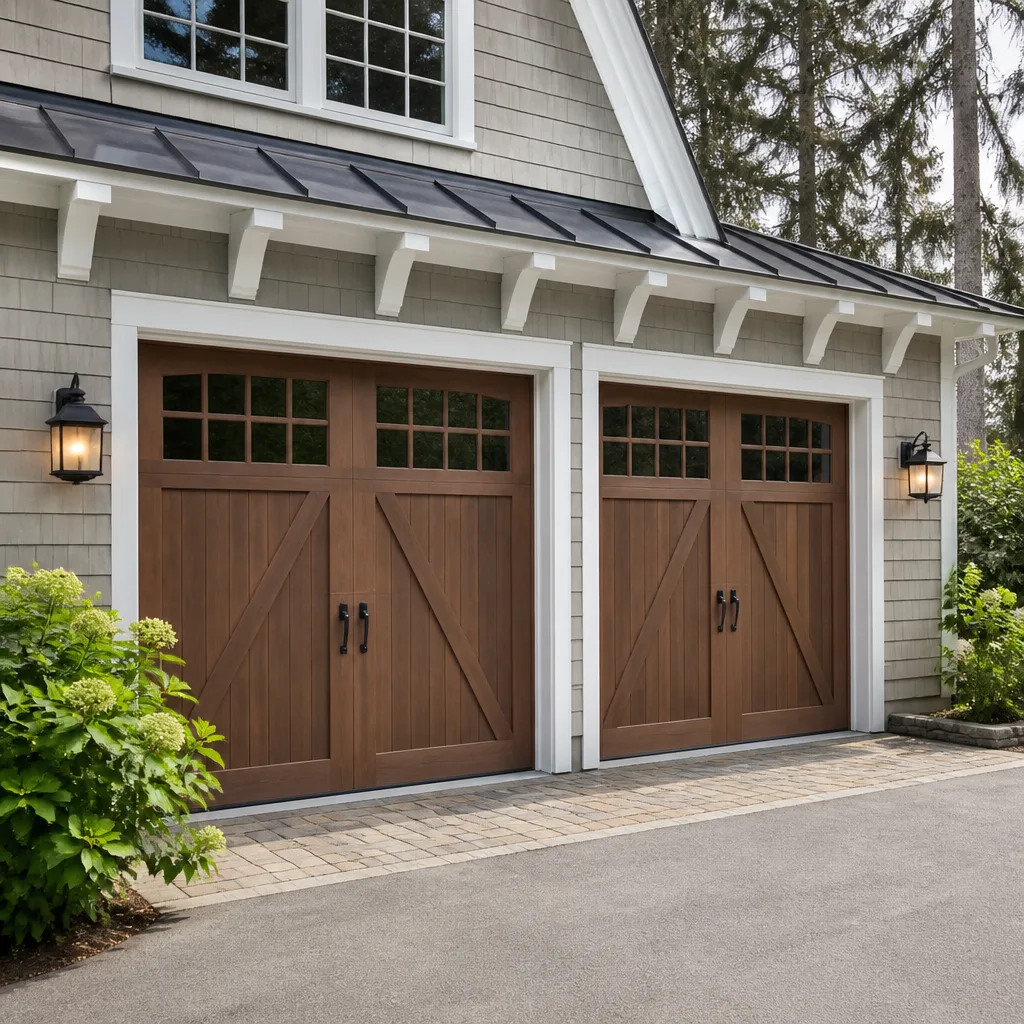 Carriage house
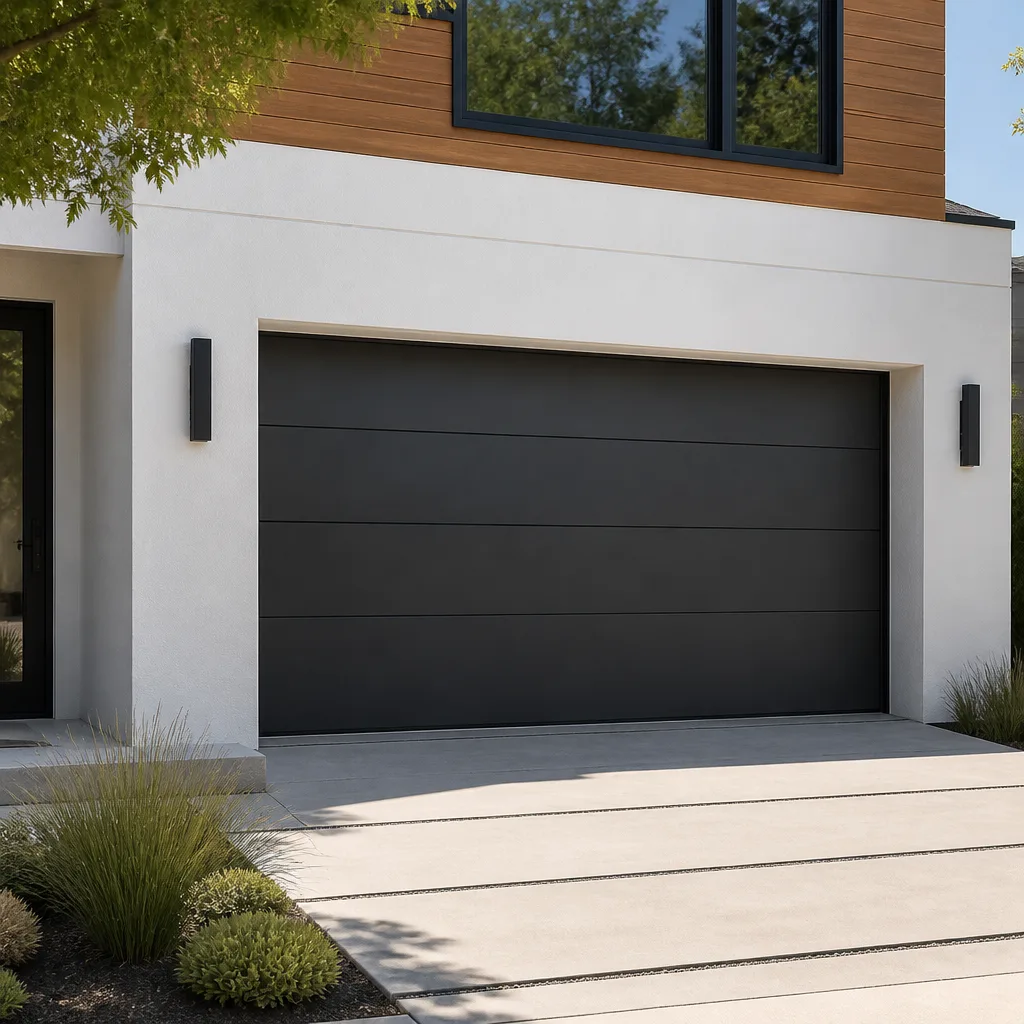 Modern flush
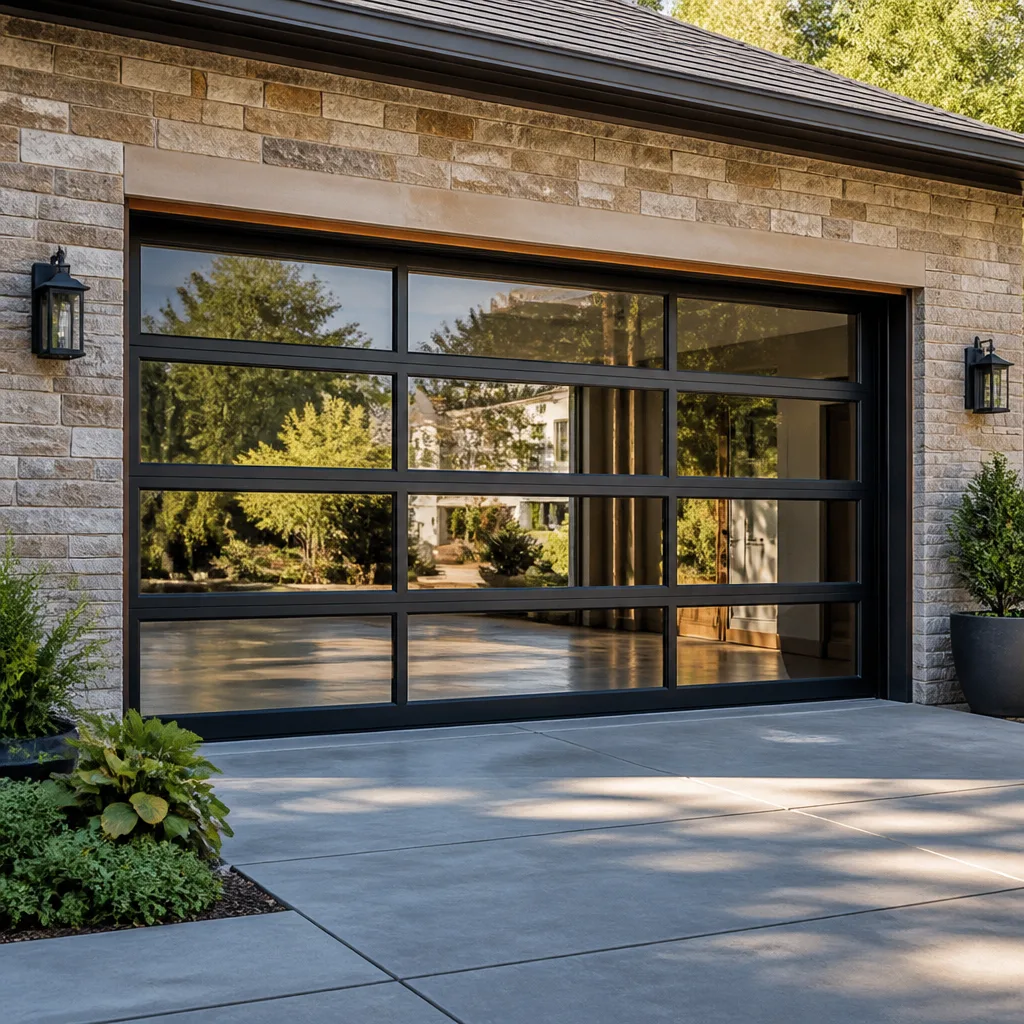 Full-view glass
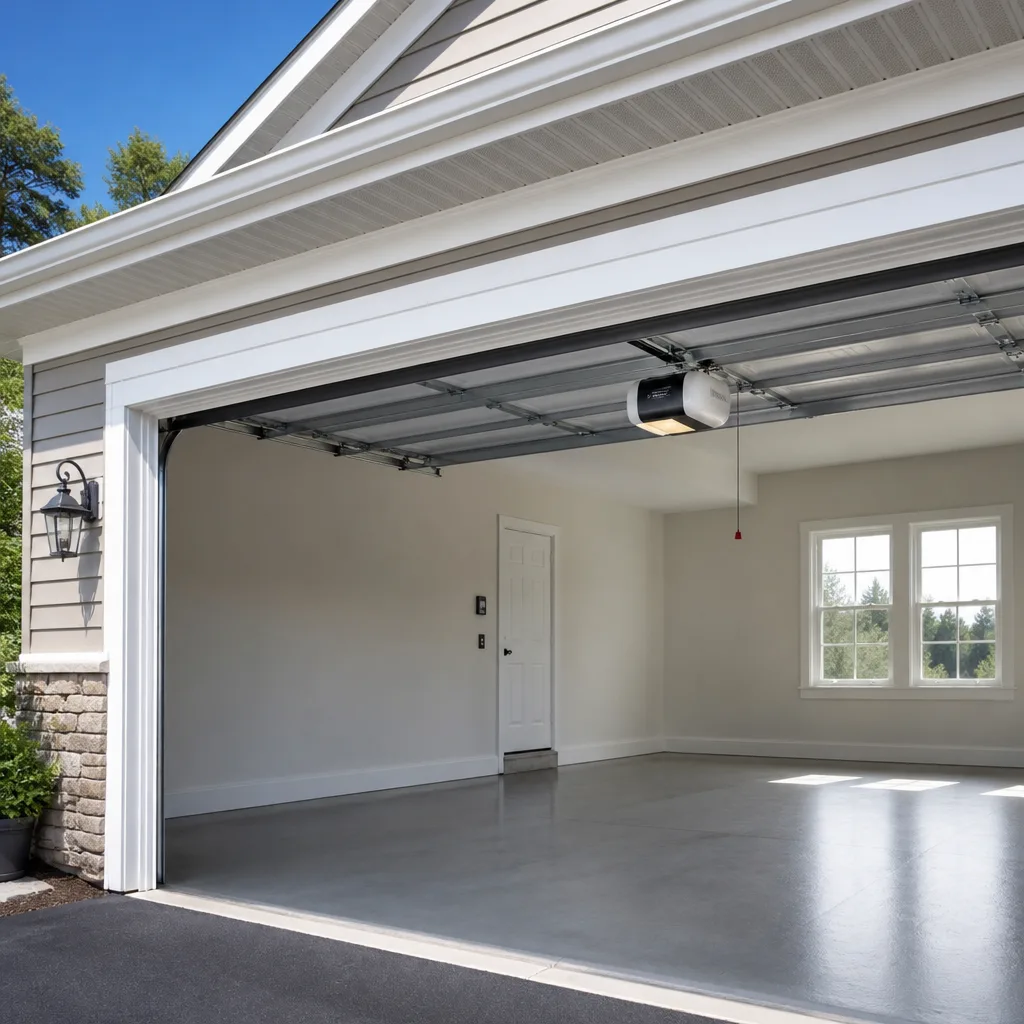 LiftMaster openers
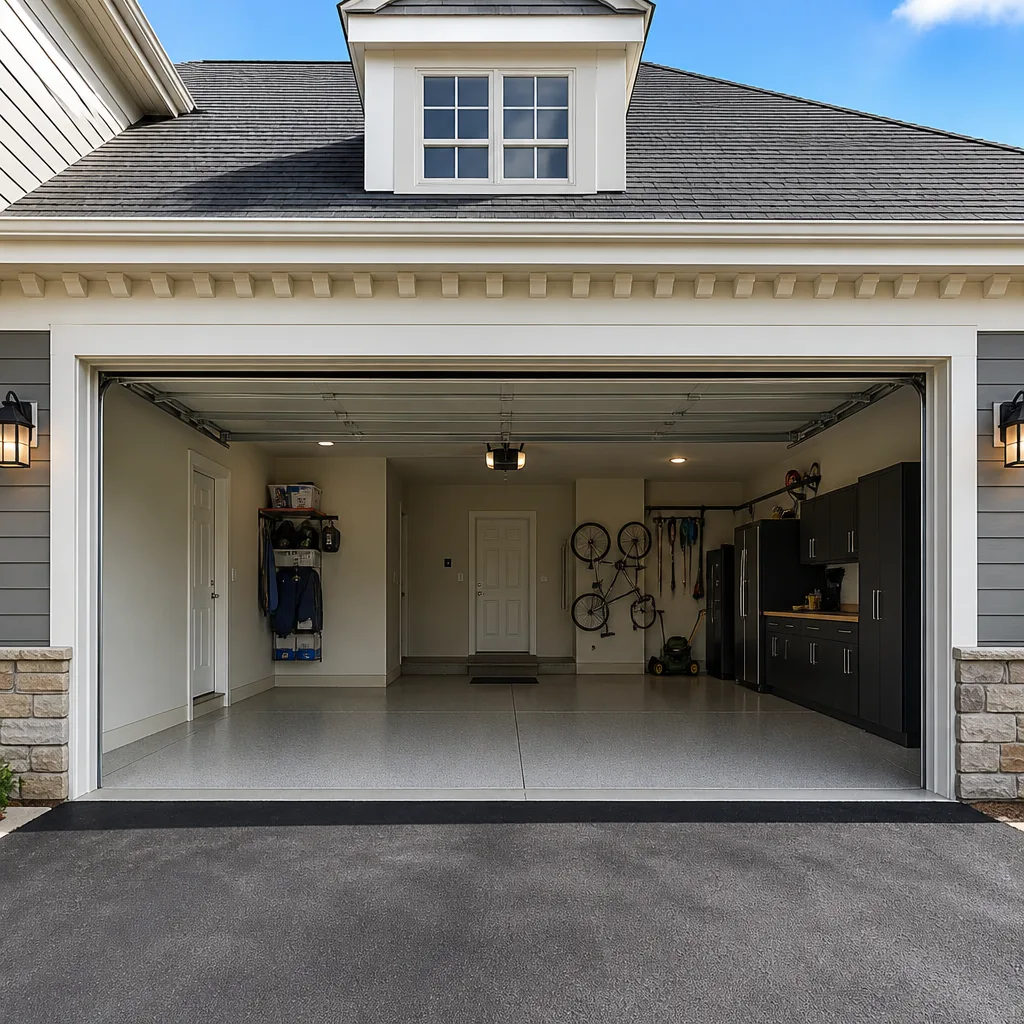 Chamberlain openers
Full 25-point door and opener safety check with every visit - springs, cables, rollers, tracks, and your LiftMaster or Chamberlain opener included
You get a price before we start. It does not change when the truck arrives.
Get your free estimateGarage Door Repair Troubleshooting: Common Problems and How to Fix Them
If your garage door reverses before it hits the ground, nine out of ten articles will tell you to adjust the close-force setting. But in Tampa, where humidity and salt air work on hardware year-round, that same symptom often means a fraying cable that’s days away from snapping. Most troubleshooting guides jump straight to parts replacement, yet the majority of garage door problems are caused by a chain of small issues, and fixing only the visible symptom guarantees a callback in 90 days. For more guides & resources, see our blog. This guide teaches you to read your door’s behavior as a diagnostic language. You’ll learn to distinguish opener problems from spring problems from track problems using only sound and movement, trace failures back to their origin, and recognize the line where a repair stops being safe for a homeowner and becomes a job for a trained professional.
Quick Answer
Garage door troubleshooting starts with identifying which subsystem failed: the opener, the springs, or the tracks and hardware. Grinding, shaking, uneven movement, and reversal mid-travel each point to a specific root cause, and in most cases the fix is either a simple adjustment, lubrication, or a targeted part replacement. The critical exception is anything involving torsion springs or cables under tension, which should always be handled by a trained professional. If your door is off its tracks, has a snapped spring, or won’t open with a bent or sagging panel, call our Garage Door Repair services in Tampa rather than attempting a fix that could cause serious injury or further damage.
Styles & brands we work with
Table of Contents
- How to Read Your Door’s Sound and Movement
- Opener Problems vs. Spring Problems: A Diagnostic Roadmap
- The Upstream Failure Concept: Why the Broken Part Is Rarely the Root Cause
- 12 Common Garage Door Symptoms and Their Real Causes
- Smart Opener Error Codes: What They Actually Mean
- The Safety Line: Spring Tension and Cable Drums
- Why Tampa’s Climate Accelerates Garage Door Wear
- Common Mistakes to Avoid
- When to Call a Professional
How to Read Your Door’s Sound and Movement
A garage door speaks before it fails. In our experience running service calls across Tampa, from Westchase to Seminole Heights, the most reliable diagnostic information comes from what you hear and see before you ever touch a tool. A door that groans on the way up but closes quietly is telling you the torsion spring is losing its lift capacity, not that the opener is weak. A door that shudders halfway through its travel is usually riding on rollers that have gone square from years of humidity and grit. Every noise maps to a specific part of the system, and once you learn that map, you’ll stop guessing and start knowing.
Here is the basic diagnostic vocabulary we teach our technicians to listen for:
- A single sharp bang when the door is moving almost always means a roller has seized or a hinge has broken. If the bang repeats at the same spot in the travel, inspect the track for a burr or a misaligned joint at that exact height.
- A grinding sound that changes pitch with door speed points to metal-on-metal contact, usually a roller with no bearing left or a track that has drifted out of parallel. Doors that grind at the bottom of their travel in Tampa are often fighting rust-scale built up where the vertical track meets the floor, especially in older homes near the water.
- A rhythmic clicking during operation is almost always the opener’s gear. On a LiftMaster or Craftsman chain-drive unit, a click at regular intervals while the motor runs indicates the drive gear teeth are stripping. On a belt-drive Genie, the same cadence can point to a worn coupler.
- A heavy sigh or whoosh on the way down, with no metal-on-metal noise, suggests the spring has lost tension and the door is free-falling against the opener’s resistance. This is an upstream failure that will eventually burn out the opener motor.
- A rattle that sounds like loose hardware is exactly that about half the time. The other half, it’s the spring coil rubbing against itself, which signals the end of the spring’s service life. If you hear a rattle coming from above the door and also notice the door feels heavier to lift manually, treat it as a spring problem, not a hardware problem.
The movement tells you just as much as the sound. A door that opens two inches and stops, then reverses, is almost never an obstacle problem, no matter what the opener’s error code says. It’s the opener’s force sensor detecting resistance the motor can’t overcome, which in a Tampa garage is frequently a spring that has lost a quarter of its tension and left the door heavier than the opener was sized to lift. A door that jerks at the start, smooths out, then jerks again near the top is riding a track that’s pinched slightly inward, often from a wall settling in the sandy soil common across Hillsborough County.
Opener Problems vs. Spring Problems: A Diagnostic Roadmap
The single biggest diagnostic mistake homeowners make is blaming the opener for what is actually a spring failure. The opener is not designed to lift the full weight of your door. It’s designed to move a door whose springs are doing the heavy lifting. When the springs fail, the opener has to work three to five times harder than it was built to, and it fails shortly after. If you replace the opener without checking the springs, you will replace the opener again within 18 months.
Here is how to tell which one you’re dealing with, no tools required:
- Pull the emergency release cord and lift the door by hand. A properly sprung door should lift with about 8 to 12 pounds of effort and stay put when you let go at waist height. If the door feels like dead weight, or if it drops when you release it, your springs are the problem. The opener is fine.
- If the door lifts easily by hand but won’t move with the opener, run your hand along the emergency release while the opener is running. If the opener motor spins, the chain or belt moves, but the door doesn’t engage, the carriage coupler is stripped. That’s an opener problem.
- If the door opens partway and stops, then reverses, watch whether the opener motor is straining or running smooth. A straining motor with a growl means the spring is under-tensioned and the door is too heavy. A smooth motor that reverses at the same spot every time means the travel limit or force setting is out of adjustment, which is an opener adjustment, not a parts failure.
- If you hear the motor run but the door doesn’t move at all, check whether the trolley is still attached to the rail. On a Wayne Dalton or Raynor system with a screw-drive opener, the trolley nut can strip, and the motor spins uselessly. That’s an opener repair, and it’s a quick one.
- If the door opens fine but closes slowly and reverses near the floor, the close-force setting may be set too low, but before you touch it, inspect the cables and the lower roller brackets. A cable that’s beginning to unravel will drag against the drum at the bottom of the travel, which the opener reads as an obstruction. The close-force adjustment is a band-aid. The cable needs replacement.
A generation of homeowners in Tampa learned this lesson the hard way after Hurricane Irma, when dozens of garages that had been “repaired” with new openers failed again within a season. The openers weren’t the problem. Springs weaken over time, and a door built in the 1990s has springs that are simply past service life. Our Garage Door Repair in Tampa page goes deeper into the specific spring and cable services we provide, but for now, remember the rule: test the door by hand before you ever touch the opener.
The Upstream Failure Concept: Why the Broken Part Is Rarely the Root Cause
Every garage door is a system, not a collection of parts. The panels, springs, cables, rollers, tracks, hinges, and opener form a continuous loop of force, and when one component in that loop fails, it transfers its workload to the next component in line. That next component then fails too, often before you notice the first failure. We call this an upstream failure, and recognizing the pattern changes everything about how you repair a garage door.
The classic example in Tampa is a door that’s slightly out of balance. The spring is still intact, but it has lost 10 to 15 percent of its tension, which is normal for a spring in its seventh or eighth year. The opener compensates by working harder. The opener’s gear wears faster. The rollers, which are now carrying more weight than they should, start to grind. The hinge plates flex under the extra load, and the screws loosen in the door’s stiles. Six months later, a roller seizes, the door jerks, and the homeowner sees a bent track and blames the track. The track didn’t fail. The spring did, months ago, and everything downstream paid the price.
The same chain happens with cable drums. A cable that has slipped one wrap on its drum changes the door’s geometry by half an inch. That half inch puts the door out of square, which wears the rollers unevenly, which scars the track, which eventually snaps the cable. The visible failure is the snapped cable. The root cause was a loose set screw on the drum, a five-minute fix that would have prevented the whole cascade.
To trace an upstream failure, work backward from the visible symptom and ask what would have caused the part to fail in that particular way. A snapped cable at the bottom bracket means the door was sitting unevenly. Ask why it was uneven. A burned-out opener motor means the door was heavy. Ask why it was heavy. A bent track at the midpoint means a roller seized at that height. Ask why the roller seized. The answer two or three steps back is the repair you actually need to make.
This is the brand-agnostic diagnosis approach we use across all eight brands we service, from Clopay panels to LiftMaster openers to Raynor tracks. We’re trained across competing manufacturers, so the recommendation you get is based on what’s right for your door, not what’s easiest to bill.
12 Common Garage Door Symptoms and Their Real Causes
Below is a symptom-to-cause matrix covering the twelve garage door behaviors we see most often in Tampa service calls. Each entry lists the symptom, the most likely causes in order of probability for our market, and the fix that addresses the actual root cause.
1. Door opens slowly, seeming to struggle
In a Tampa garage, the first culprit is almost always spring fatigue, not a failing opener. Test by pulling the release and lifting the door manually. If it’s heavy, the springs need replacement. If the door lifts easily, the opener’s capacitor is failing and it’s time for an opener repair. Lubricating the rollers and hinges takes ten minutes and often makes a noticeable difference in the door’s speed on its own.
2. Door closes fine but reverses before it hits the ground
This is the symptom from the introduction, and it has three possible causes. Check the close-force setting first, because that’s a two-minute fix. If the setting is already at spec, inspect the cables at the bottom brackets. A cable beginning to unravel will drag against the drum at the bottom of the travel, and the opener reads the resistance as an obstruction. If the cables look fine, look for debris in the track at the spot where the door reverses. A pebble, a clump of dirt, or a rust-scale flake from the track itself can be enough to trigger the sensor.
3. Door makes a grinding noise when opening or closing
Grinding is almost always roller failure or track misalignment. Remove one roller from its bracket and spin the wheel by hand. If it doesn’t spin freely, it’s seized, and it’s been carving a groove into your track. Replace all the rollers, not just the noisy one. Then run your hand along the track where the noise was coming from and feel for the groove or burr that the roller left behind. If you feel one, the track needs to be replaced too. Replacing only the roller without addressing the track is a guaranteed callback within the season.
4. Door opens and closes unevenly, one side leading
An uneven door is a cable problem waiting to become a spring problem. On a door that opens on torsion springs, the cables on each side must carry equal tension. If one cable has stretched or slipped, the door rises with one side leading by an inch or more. Check the cable drums at the top of the door. If one drum has a cable winding on top of itself or a gap between wraps, the drum has slipped. This is a cable and drum repair, and it should be done by a technician because the tension on the system is still live.
5. Door slams shut when you close it
A door that falls faster than it should is a red flag for a near-total spring failure. The spring is doing almost none of the lifting anymore, and the door’s entire weight is riding on the opener’s brake. Openers are not designed to hold a dead door, and if this continues, the motor will burn out. Stop using the door, pull the release, and test the door by hand. If it drops, the spring needs replacement before the opener gets damaged too.
6. Opener motor runs but the door doesn’t move
If the motor runs and the chain or belt doesn’t move, the drive gear has stripped inside the opener housing. This is common on LiftMaster and Chamberlain units that have been working against a heavy door for months. If the chain or belt moves but the door doesn’t, the trolley carriage has disconnected from the rail. On a screw-drive Craftsman or Genie, the traveler nut inside the rail has stripped. All three are opener repairs, and they’re all straightforward for a technician with the parts on hand.
7. Door jerks or stutters when moving
Stuttering is usually a track pinching or a roller binding at a specific point. Mark the spot on the track where the stutter happens. Then run the door through that spot slowly by hand and watch the roller. If the roller hesitates, replace it. If the roller moves smoothly but the door panel behind it flexes, the hinge above or below that point has cracked, and the panel is transferring its load unevenly. Replace the hinge. In a Tampa home with an older wooden door, panel rot near the bottom that lets the stile pull away from the panel can also cause this. Inspect the wood around the bottom bracket for soft spots.
8. Door won’t open from the wall switch but works from the remote
The wall switch circuit has failed, not the opener. Check the low-voltage wires from the wall switch to the opener housing for a break, a staple pinching through the insulation, or corrosion at the terminals. Tampa’s humidity accelerates terminal corrosion, especially in garages that aren’t air-conditioned. Clean the terminals with a wire brush and retighten. If the switch still doesn’t work, the wall switch module itself has likely failed and needs a ten-dollar replacement.
9. Door opens but the light on the opener blinks when you try to close it
The photoelectric safety sensors are misaligned or blocked. Bend the sensor brackets back into alignment so the sending and receiving eye face each other directly. Check that the little LED on each sensor is lit solid, not flickering. A flickering LED means a loose wire or a sun-washed sensor. In a west-facing Tampa garage, afternoon sun can blind the receiver sensor. If the problem happens only at a certain time of day, that’s your answer. Shield the sensor or swap the two sensors so the receiver is no longer in the direct sun path.
10. Door is noisy when it’s cold but quiet when it’s warm
This is classic roller and hinge weakness combined with humidity-driven corrosion. When the temperature drops, the metal in the rollers and hinges contracts, and any wear gap becomes audible. In Tampa, we hear this most in the January dry spells when overnight temperatures dip into the 40s. The fix is roller replacement, not lubrication. Lubrication quiets the door for a week, and then the cold comes back and the noise is louder than before. A door that’s quiet when warm and noisy when cold is telling you the rollers are at end-of-life.
11. Remote works intermittently, usually from inside the car
The remote’s battery is likely failing, but before you replace it, check for interference. In dense Tampa neighborhoods, the 315 MHz and 390 MHz frequencies used by most openers can be crowded by neighboring systems, baby monitors, and older LED bulb ballasts in the opener’s own housing. Move the car closer to the door and test. If the remote works consistently from ten feet but not from the street, range is reduced, and that’s usually a failing remote battery or antenna wire on the opener that’s been clipped. If the remote works only when the car is off, RF interference from the car’s electronics is the culprit, and a newer frequency-hopping remote is the fix.
12. Door makes a loud bang and stops moving, with the door half open
This is the torsion spring snapping, and it’s the most dangerous failure a garage door can have. The spring, which is wound under several hundred pounds of stored torque, releases all of that energy at once, and the sound is a gunshot. The door will not move because the spring is no longer lifting. Do not attempt to open or close the door manually. Call a professional immediately. The repair is a spring replacement, the springs are matched to the door’s exact weight and height, and the job should take a technician under two hours. This is not a DIY repair, and we’ll explain why in the safety section below.
Smart Opener Error Codes: What They Actually Mean
Modern openers from LiftMaster, Chamberlain, and Genie have onboard diagnostics that flash error codes through the LED on the motor housing. The manual that came with your opener will translate those codes into generic descriptions, but the manuals are written to protect the manufacturer from liability, not to give you useful diagnostic information. Here is what the codes actually mean in the field, based on what we see on daily service calls in Tampa.
LiftMaster and Chamberlain: the up-arrow and down-arrow flash counts. These units share the same diagnostic platform. One flash up and one flash down means the travel limits have been erased, usually after a power surge. The fix is to reset the limits, which takes five minutes with the manual. Two flashes up and two down means the force sensor is detecting excessive resistance. The manual will tell you to adjust the force setting. In practice, the force sensor is usually reading a spring that has lost tension. Test the door by hand before you touch the force dial. Four flashes up and six down means the RPM sensor has failed, and the opener will not run. That’s a control board replacement.
Genie: the red and green LED solid-versus-flash codes. Genie manuals are the most optimistic in the industry. A code the manual describes as “door out of balance” is usually correct, but the manual will then direct you to “contact your dealer.” A code described as “obstruction detected” is usually a bad safety sensor, not an actual obstruction, and the fix is to clean the sensor eyes and check the wiring. If the red LED is solid and the green LED flashes, the opener has lost its travel limits, which happens on Genie units after a power outage longer than about 30 seconds. The fix is the limit reset procedure, and the process in the manual is accurate.
Craftsman (post-2011 units): the diagnostic arrow flash counts. Craftsman openers up to 2011 were built by Chamberlain and use the Chamberlain code system. After 2011, Craftsman switched to a proprietary system that flashes an arrow LED. Five flashes means the motor overheated, which in a Tampa summer means the garage has been above 110 degrees and the thermal overload tripped. The fix is to let the unit cool and reduce the force setting so the motor works less. Six flashes means the door is out of balance, and the manual also actually says this. The same rule applies: test by hand first.
One of the advantages of working with a technician trained across multiple brands is that we know which manual instructions are reliable and which are safety boilerplate. When we repair a LiftMaster opener in Tampa, we’re reading the same code you are, but we’re also reading the motor’s history, the spring’s age, and the door’s balance, because the code only tells you what the opener measured, not what caused it. For more on opener-specific issues, our Garage Door Opener Repair in Tampa page covers smart opener diagnostics in detail.
The Safety Line: Spring Tension and Cable Drums
Garage door springs are among the most dangerous stored-energy devices in a residential home. A torsion spring wound to the correct tension for a 16-foot door is holding between 150 and 250 pounds of lift force, and if that spring lets go while it’s being wound or unwound, the winding bar becomes a projectile moving fast enough to break bone. Extension springs carry the same tension on a stretched coil, and if one snaps while the door is in motion, the flying end of the spring becomes a lethal object. Neither type of spring should be adjusted or replaced by a homeowner without the proper winding bars, training, and understanding of the exact tension spec for the door’s weight.
Cable drums carry the same danger. The cable that runs from the bottom bracket up to the drum is under the full tension of the spring, and if the drum’s set screw is loosened while the spring is wound, the drum will spin, the cable will whip, and the door will drop. The visible part of the cable is only half the story: the wraps on the drum, the condition of the cable where it enters the drum, and the alignment of the drum to the track all matter, and all of them are under tension.
Here is how to recognize the line before you cross it. If your repair involves any of the following, call a professional:
- You can see the spring is broken. The door is weighing several hundred pounds and should not be lifted by hand.
- The cables are off their drums or tangled around the shaft. The cable path is a safety system, and re-tracking a cable under tension is not a matter of “just looping it back on.”
- The door is sagging on one side and the cables have slack. Slack in a cable means the spring tension is uneven, and the spring must be unwound before the cable can be reset.
- You would need to loosen a set screw, a bolt, or a bracket that sits between the spring and the door. If it’s between the spring and the door, it’s under load.
- You’ve watched a YouTube video and still aren’t sure. The cost of a wrong guess on a spring repair is measured in fingers and hospital visits, not dollars.
We take this seriously because we’ve seen the aftermath. A homeowner in Carrollwood tried to re-seat a cable that had slipped off its drum last spring. The set screw on the drum was still tight, but the spring had shifted one wrap, and when he loosened the drum, the cable whipped across his forearm. He got lucky: sixty stitches and a missed season of golf. The door still needed a pro. The right fix, not the easy fix, is the entire point. Spring replacement, cable replacement, and cable drum work are all services we perform regularly, and every one of them starts with the spring being properly unwound in a controlled process. Old-school reliability, modern know-how. That’s the standard.
Why Tampa’s Climate Accelerates Garage Door Wear
Tampa’s climate is harder on garage doors than almost any other market in the country. We have salt air from the Gulf, extreme humidity from May through October, intense UV exposure, and a rainy season that soaks hardware on a cycle. A door that would last 20 years in Denver or Dallas will show significant wear by its 12th year in Tampa, and the components that fail first are the ones most sensitive to corrosion and rubber degradation.
Salt air is the quiet killer. Homes within a few miles of the coast, from Westshore to Davis Islands to South Tampa, get a continuous dose of salt aerosol, which accelerates rust on tracks, springs, and hardware. The springs on a coastal door will show surface rust within a decade, and rust on a spring is not cosmetic: it creates stress risers in the coil, and the spring will eventually snap at one of those points. If your spring is rusted, it’s a time bomb, not a maintenance item. That’s one reason our Garage Door Installation in Tampa page recommends galvanized or powder-coated springs for coastal homes, which resist salt better than standard oil-tempered steel.
Humidity attacks the rubber and plastic components. The rubber seals along the bottom of the door stiffen and crack faster in Tampa’s humidity cycle than they do in a dry climate, and once the bottom seal is compromised, water drives under the door during the summer thunderstorms and sits on the garage floor, rusting the bottom brackets and the lower track. The vinyl trim around the door opening does the same. If you see black flakes under the door every time you open it, the seal is degrading, and the fix is a twenty-dollar part and twenty minutes of labor.
UV exposure breaks down the panels on doors that face west. A door painted a dark color and facing into the afternoon sun in Tampa will fade and chalk within five years, and the panel’s steel core will start to delaminate from the insulation behind it. The door still opens and closes, but the panel integrity is compromised, and once you see bubbling or delamination, the long-term fix is panel replacement or a full door replacement depending on the extent.
The practical takeaway for a Tampa homeowner is a maintenance cadence that doesn’t apply elsewhere. Lubricate your rollers, hinges, and springs twice a year, not once, ideally in November and April. Inspect your cables for rust every time you change your smoke detector batteries. And test your door’s balance by hand twice a year, because a door that’s starting to get heavy is the earliest warning sign of a spring that’s on its way out. A ten-minute test in May can prevent a snapped spring in August, which is exactly when the humidity is highest, and the repair demand is too.
Common Mistakes to Avoid
- Adjusting the close-force setting to fix a reversing door without checking the cables first. The setting change masks the symptom for a few weeks, and then the cable snaps while the door is in motion. The cable was the problem all along.
- Replacing the opener when the springs are the problem. A new opener paired with old, tired springs will fail the same way the old one did. Test the door by hand before you spend $400 on a motor.
- Lubricating the rollers instead of replacing them. A roller that’s already seized or ground flat won’t be revived by lubricant. You’re buying a week, not a fix.
- Ignoring a rusted spring because “it’s still working.” A rusted spring is a spring that’s already failing. The rust didn’t appear because the spring is fine. It appeared because the spring is old, and oil-tempered steel doesn’t rust until its protective coating is gone.
- Using WD-40 on the tracks and rollers. WD-40 is a solvent, not a lubricant. It strips the existing lubricant and leaves the metal dry. Use a white lithium grease or a silicone-based garage door lubricant instead.
- Loosening any bolt, bracket, or set screw on the spring assembly. If it touches the spring, the drum, or the cable, it’s under tension. A trained technician with the right bars and the right process is the only safe way to touch this part of the system.
- Assuming the error code on the opener means what the manual says. The code tells you what the opener measured, not what caused the measurement. An “obstruction detected” code is often a failing sensor, not a physical obstruction, and a “force exceeded” code is often a spring, not a setting.
When to Call a Professional
Call a professional when the repair touches stored energy or when the symptom has already recurred once. A snapped spring, a cable off its drum, or a door off its tracks is never a handyman job. The spring assembly holds enough force to cause life-threatening injury, and while the parts themselves are affordable, the process of safely unwinding, replacing, and rewinding a spring is exacting work. If the door is heavy by hand, if the cables are frayed, or if you’ve already replaced one part and the problem came back, the root cause is upstream, and a trained eye will find it faster than another round of parts-swapping. Vintage Garage Door Service offers free estimates in Tampa, and we’re certified on eight major brands. Call (866) 253-5794 and we’ll give you a straight answer about what’s wrong and what it costs, before any work starts.
See the difference
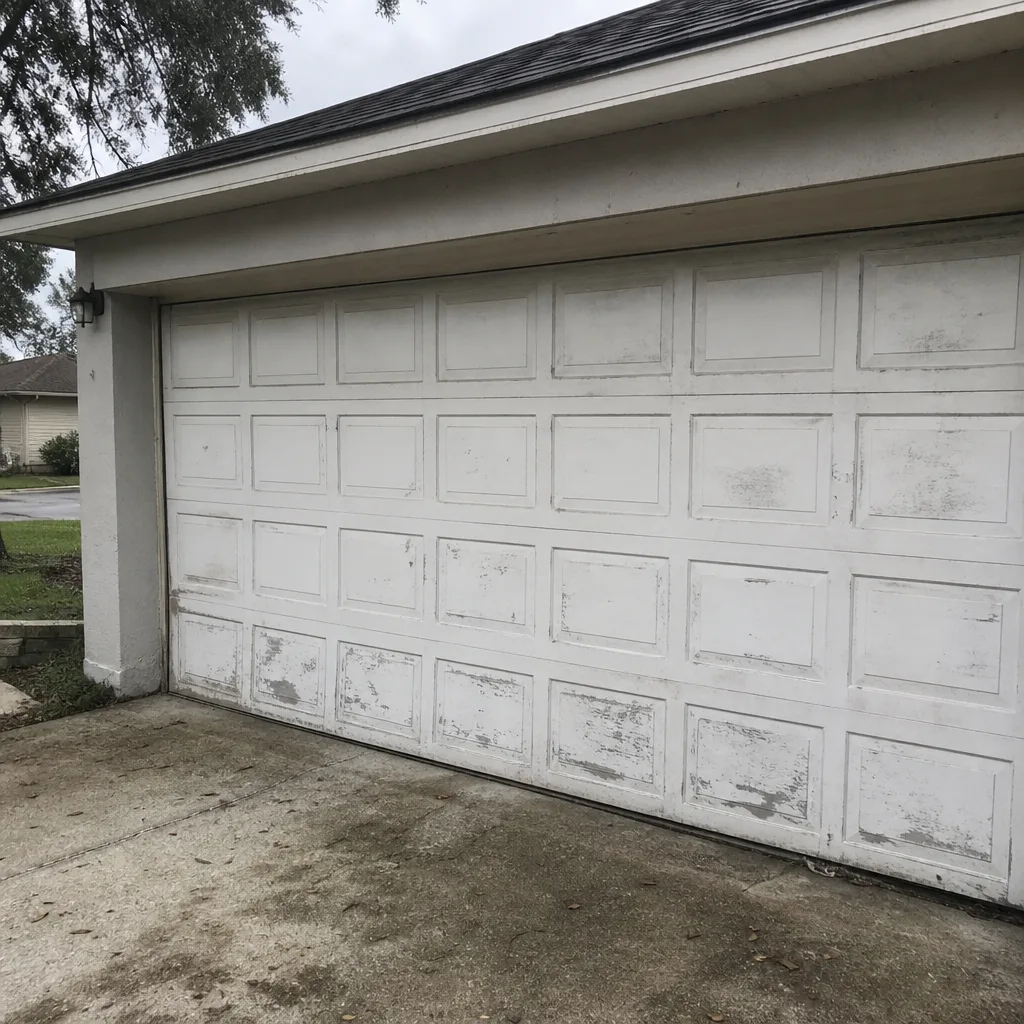 Before
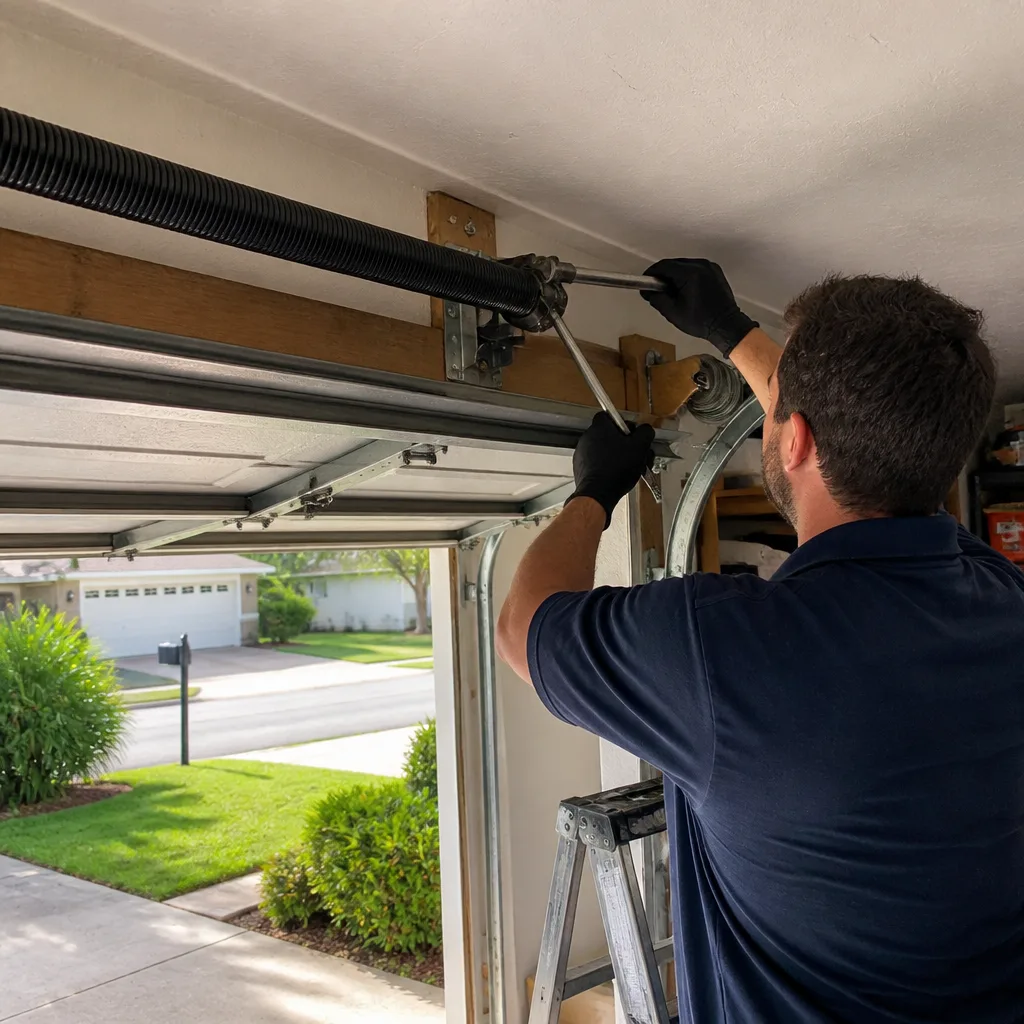 After
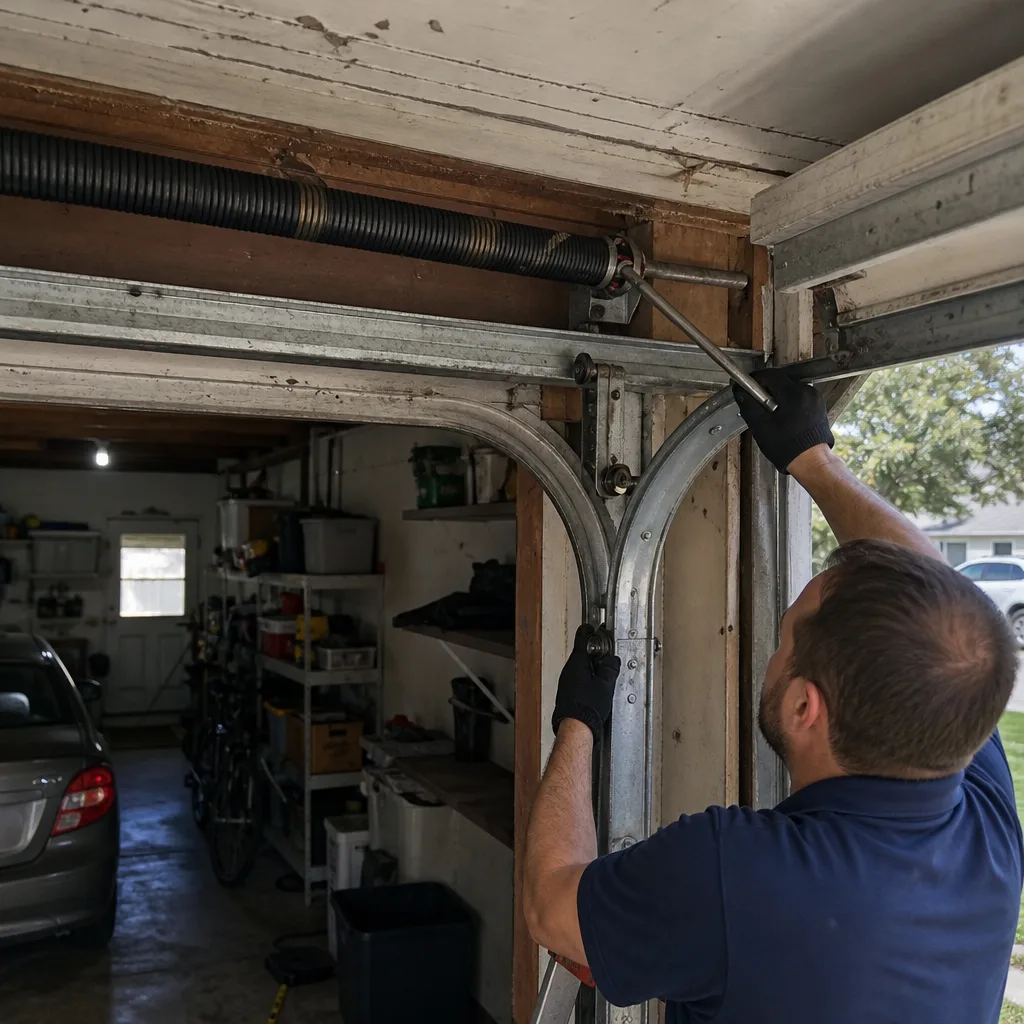 Before
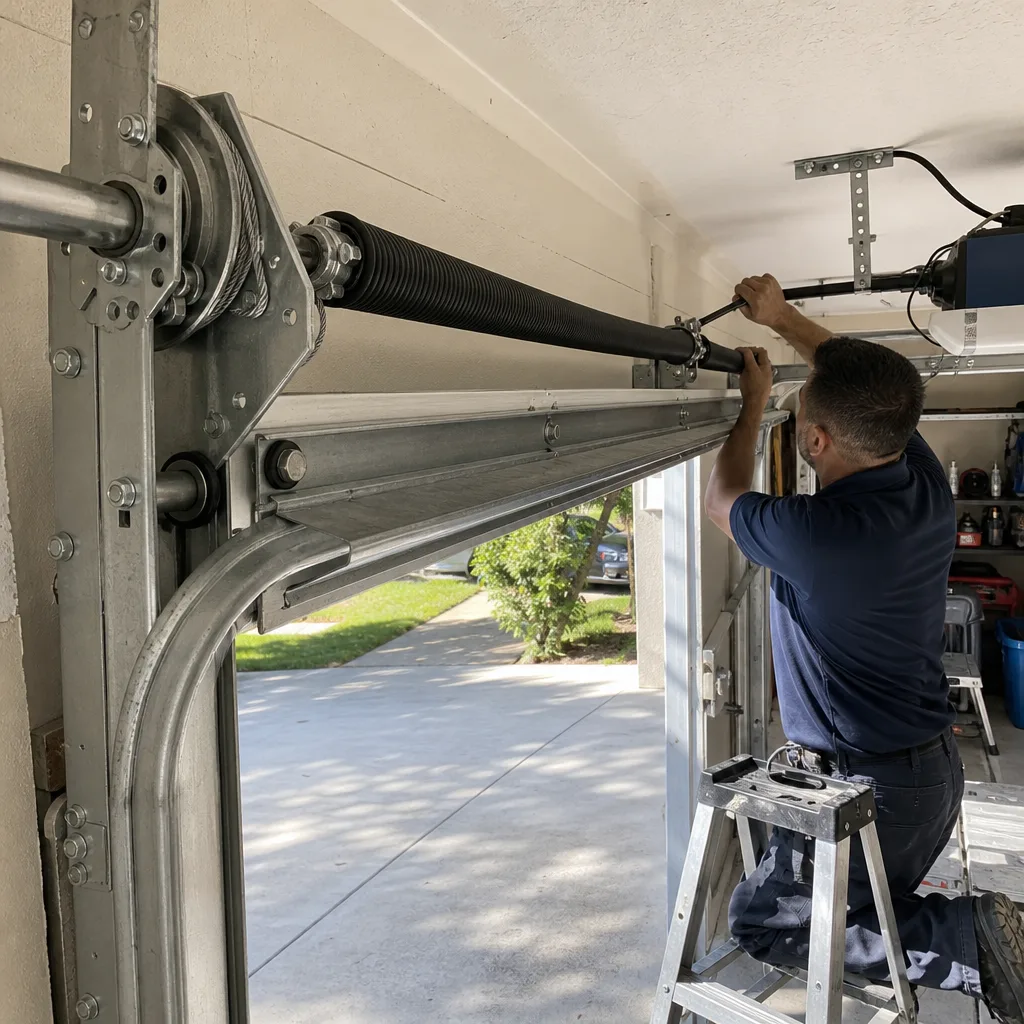 After
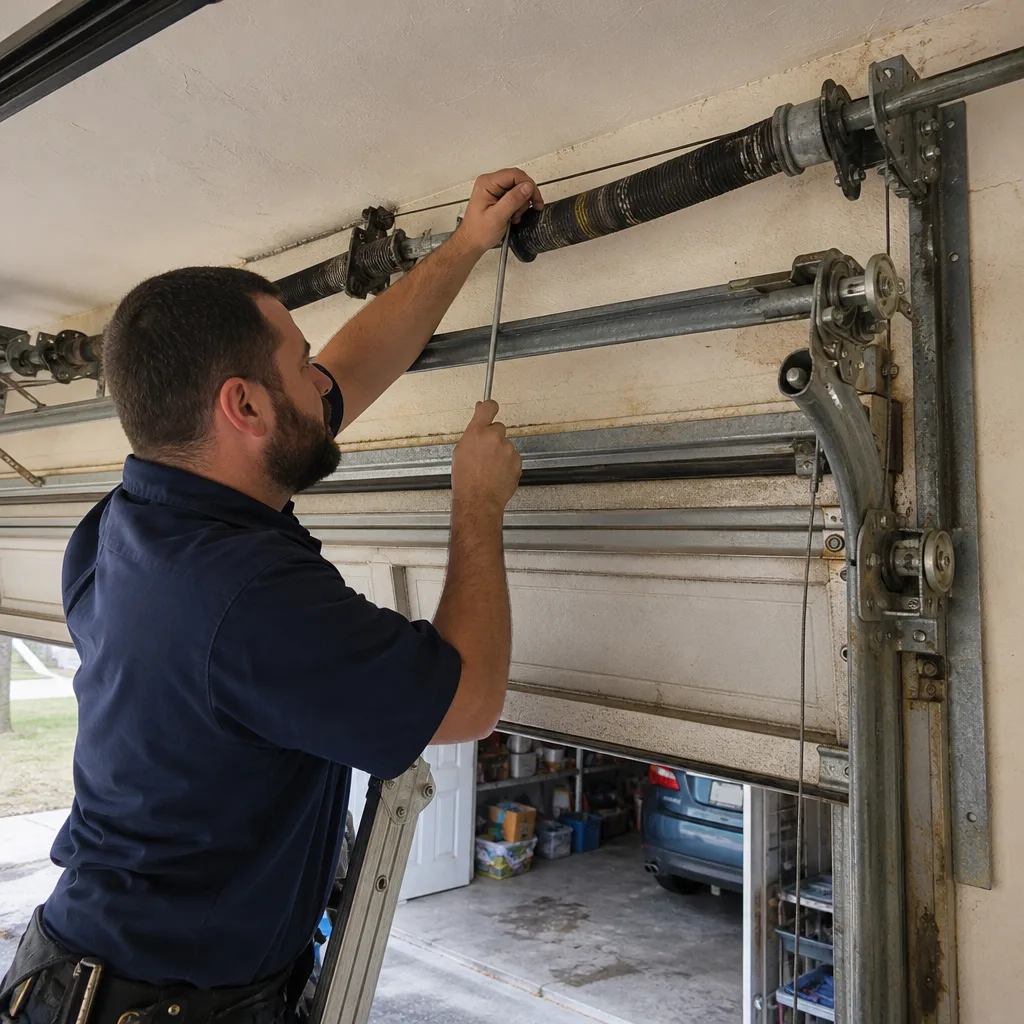 Before
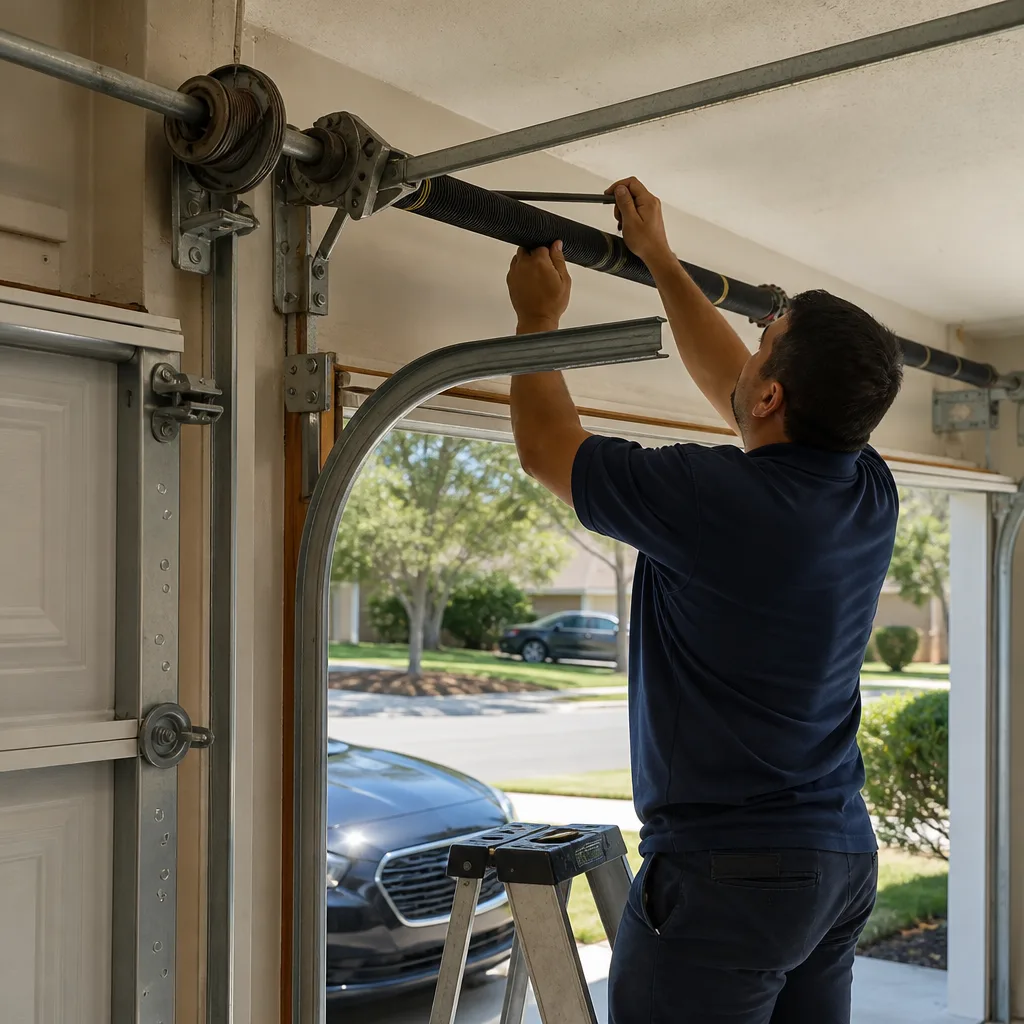 After
Frequently Asked Questions
Most garage door repairs in the Tampa area fall between $125 and $350 depending on the part and the labor involved. A roller replacement typically runs $150 to $200, a cable replacement $180 to $275, and a spring replacement $250 to $400 including the springs, which are priced by the door’s weight and height. A full opener replacement starts around $450 and goes up from there depending on the model and whether you’re upgrading to a smart Wi-Fi unit. Call (866) 253-5794 for an exact quote, and we’ll give you a written price before any work begins.
In most cases, yes. We carry the common repair parts for LiftMaster, Chamberlain, Genie, Clopay, Amarr, Wayne Dalton, Craftsman, and Raynor systems on our trucks, which means a broken spring or cable is usually a same-visit fix. If your door has a less common panel or track config, we may need to order a part, but we’ll tell you that upfront before you’re committed to anything. Call (866) 253-5794 and we’ll give you a straight answer on timing.
The three most common causes are a close-force setting that’s too low, a cable that’s beginning to fray and dragging on the drum, or debris in the track at the point where the door reverses. Start by clearing any visible debris and wiping down the tracks. If the problem persists, test the door by hand. A door that feels heavy by hand is telling you the spring is losing tension, and the opener is reading that extra weight as an obstruction. Call a professional before you adjust the force setting, because the adjustment masks the real problem.
Standard torsion springs are rated for 10,000 cycles, which for most Tampa households is seven to ten years. In coastal areas of Tampa, where salt air accelerates corrosion, expect six to eight years. If your spring is rusted, it’s already past its service life regardless of cycle count. We recommend upgrading to a galvanized or powder-coated spring for coastal homes, which lasts several years longer and resists the salt aerosol that shortens the life of standard springs.
Grinding is almost always a roller failure or a track misalignment. The roller’s ball bearing has seized, and the wheel is now sliding instead of rolling along the track, grinding a groove into the metal as it goes. Replacing just the noisy roller is a temporary fix: if the track has been grooved, the groove will destroy the next roller too. A proper repair replaces all the rollers and inspects the track for damage at the same time.
Test the door by hand before you replace either one. Pull the emergency release and lift the door. If the door is heavy, the springs are the problem, and a new opener will fail the same way the old one did. If the door lifts easily by hand and stays in place, the opener is the problem. On a Tampa door that’s ten years old or older, assume the springs are tired even if they haven’t snapped yet, and have them checked before you invest in a new opener.
The Bottom Line
Garage door troubleshooting is a process of elimination, but the elimination order matters. Springs fail before openers. Cables fail before tracks. Rollers fail before hinges. If you diagnose in the wrong order, you’ll replace the wrong part and the problem will come back. Read the door’s sound and movement, work backward from the visible symptom to the upstream cause, and respect the line where stored energy makes a repair too dangerous for a homeowner. In Tampa’s climate, maintenance is a twice-yearly habit, not an annual one. And when the problem is beyond the reach of a wrench and a can of lithium grease, one call to a technician who knows your brand will get the door running right the first time. Built to last, fixed to last.
If your door is making a new noise, moving unevenly, or refusing to open or close, call Vintage Garage Door Service at (866) 253-5794 for a free estimate. We’re trained on eight major brands, we carry the common parts on the truck, and we’ll quote your price before we touch a single bolt. Visit our Vintage Garage Door Service home page to learn more about how we work.
Written by the team at Vintage Garage Door Service, serving Tampa since 2012.